How to Master Your Rucksack for Effortless, Ergonomic Travel
Traveling is one of the most exciting experiences in life, but the way you pack your rucksack can decide whether your journey feels smooth and enjoyable or stressful and exhausting. A poorly packed backpack can lead to back pain, misplaced items, unnecessary luggage weight, and frustration during travel.
Packing isn’t just about shoving items into a nylon container until the zippers scream for mercy. It is a science. When you pack correctly, your rucksack transforms from a heavy burden into a seamless extension of your body—spacious, perfectly balanced, easy to handle, and ready for any adventure.
Whether you are gearing up for a weekend trek or a multi-month international journey, this masterclass by Wravelon will teach you exactly how to prepare, fold, organize, and configure your rucksack for ultimate freedom of movement.
Phase 1: Choose the Right Rucksack for Your Journey
Before packing, selecting the right rucksack is extremely important. Your bag should match the type and duration of your trip.
Ideal Backpack Sizes
- 20L–30L: Day trips & short weekend travel
- 40L–50L: Backpacking & trekking
- 60L–80L: Long expeditions & camping
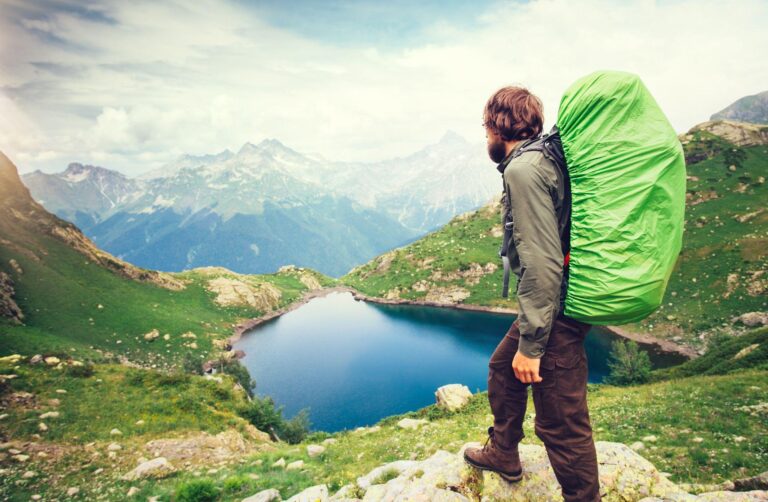
At WravelOn, travelers can explore travel essentials like trekking bags, side bags, organizers, rain covers, smart toiletry kits, and travel accessories specially designed for comfortable adventures.
Phase 2: The Mental Shift—Preparing Yourself to Pack
Before you even touch a single packing cube or roll up a t-shirt, you need to prepare your mind. Great packing is an exercise in intentionality. If you pack while stressed or rushed, you will inevitably overpack “just in case” items that will do nothing but weigh you down.
The Floor Layout Rule
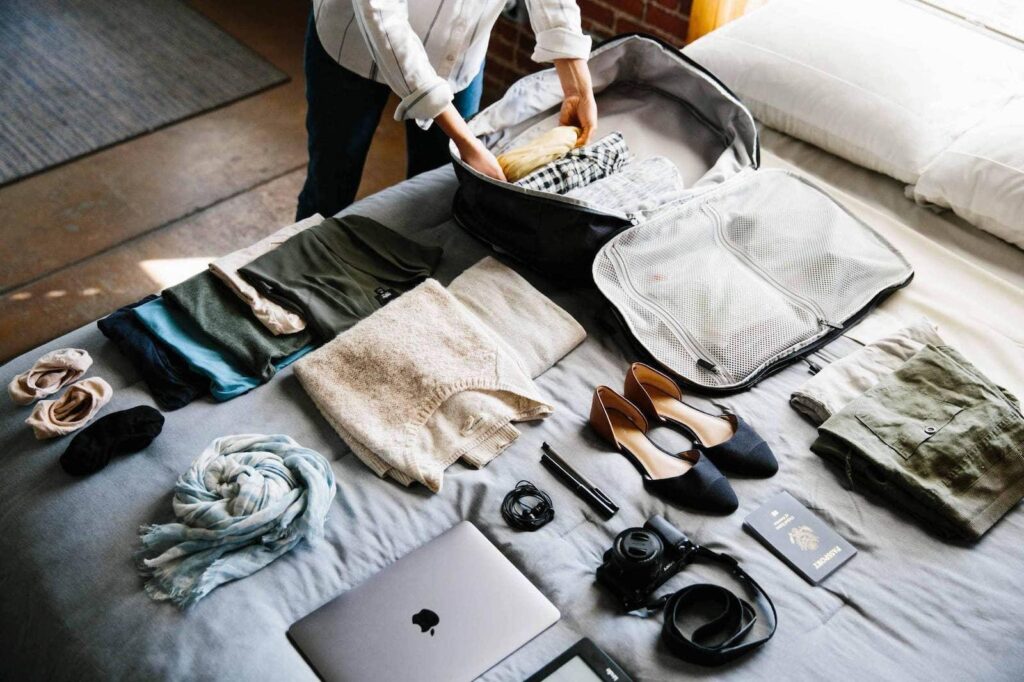
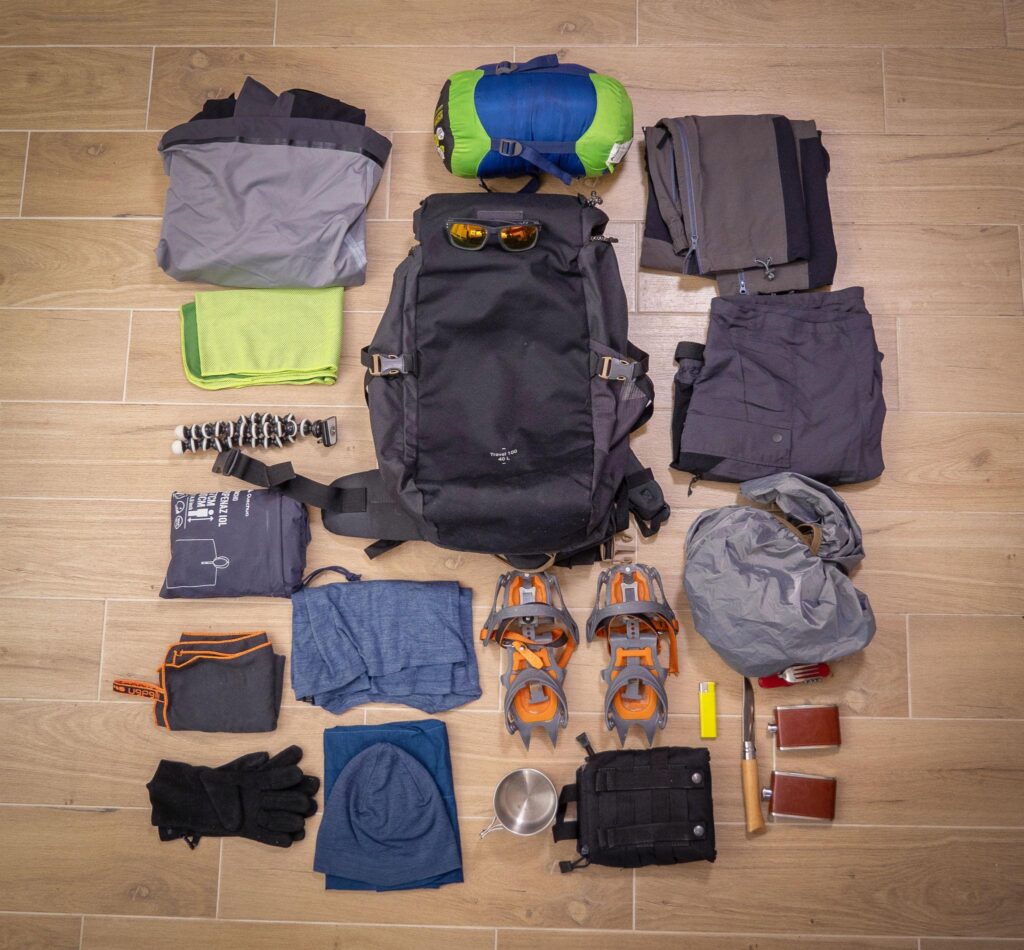
Never pack directly from your closet into your bag. Three days before your trip, clear a large space on your floor. Lay out every single item you intend to take. Seeing your gear collectively gives you an honest look at the scale of your baggage.
The “Cut-in-Half” Filter
Look at your pile of clothes and gear. Now, ruthlessly eliminate one-third to one-half of it. Ask yourself: Can I wear this item multiple times? Does it serve more than one purpose? Remember, a lighter rucksack equals a happier traveler.
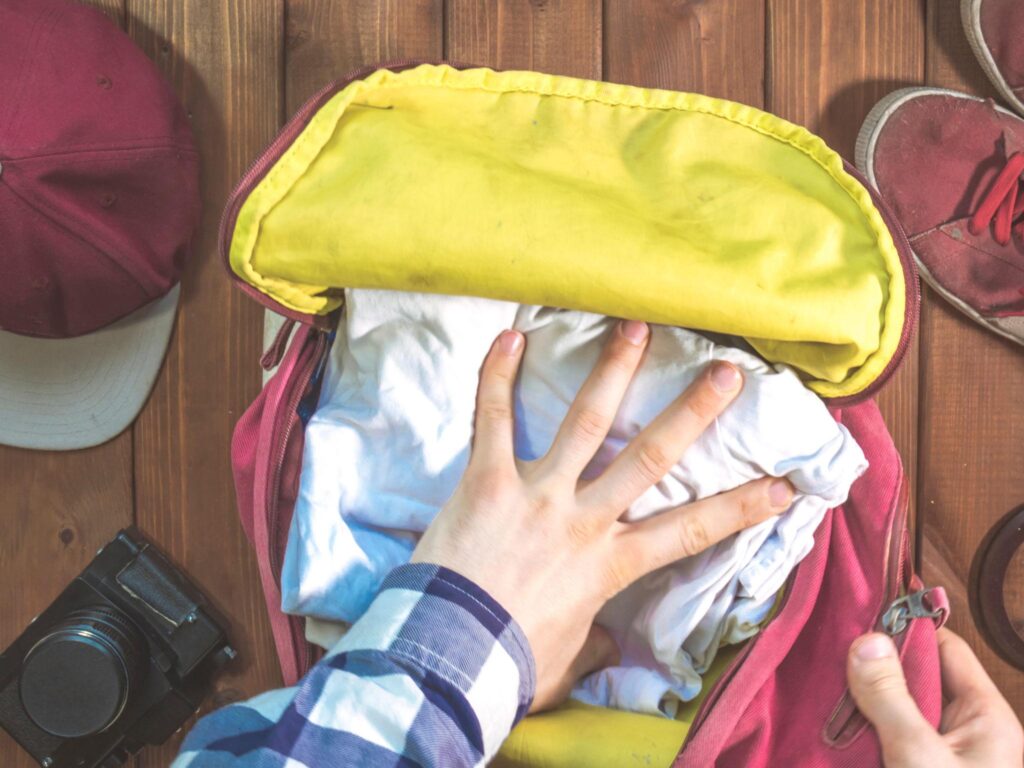
Phase 3: The Folding Blueprints—Maximizing Volume and Structure
Standard flat folding is the enemy of rucksack packing. It creates dead, empty spaces at the corners of your bag and causes items to shift, throwing off your balance. To maximize space and create a solid structure, you must master tactical folding techniques.
Technique A: The Ranger Roll (Military Compression)
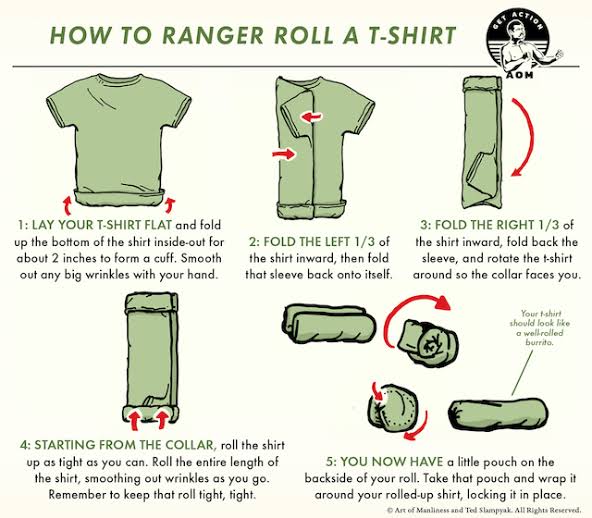
For t-shirts, undergarments, and light activewear, the Ranger Roll is unmatched. It compresses clothing into tight, cylindrical “burritos” that won’t unwrap, allowing you to stack them tightly like logs.
How to do it:
- Lay the shirt flat. Fold the bottom hem of the shirt inside-out upward by about 2 to 3 inches all the way around to create a “cuff.”
- Fold the left third of the shirt into the center, folding the sleeve back over it. Repeat with the right third to form a neat vertical rectangle.
- Starting firmly from the collar, roll the shirt downward as tightly as possible, smoothing out wrinkles as you go.
- Once you reach the bottom, grab the inside-out cuff you created in Step 1 and flip it over the entire roll, locking the burrito in place.
Technique B: The Interlocking Folder
For bulkier items like mid-layer sweaters or cargo pants, use the interlocking method. Lay one item down, place the second item halfway across it, and fold them over one another. This distributes the bulk evenly rather than creating a single, massive fabric bump.
The Ultimate Secret: Wravelon Packing Organizers
Even perfectly rolled clothes can descend into chaos if left free-floating. Utilize a tiered system of Wravelon Packing Organizers (Cubes).
- Group your rolled shirts in a medium cube.
- Keep clean undergarments in a small cube.
- Dedicate a breathable, structured organizer strictly for dirty laundry.
Organizers function like internal dresser drawers, giving your rucksack modular structural integrity so it never sags or deforms.
The Physics of Packing—Zones for Balance and Easy Handling
A rucksack shouldn’t feel like it’s pulling you backward. If your shoulders are aching, it means your center of gravity is misaligned. To make your rucksack feel lighter and ensure it is effortless to lift, carry, and hang, follow the structural zone framework.
Zone 1: The Base (Low & Light)
- What goes here: Your sleeping bag, camp shoes, or extra cold-weather layers.
- The Reason: This creates a stable foundation for the rest of your gear. Putting heavy items here will drag down on your lower back and pull your spine out of alignment.
Zone 2: The Core (Middle & Close to Spine)
- What goes here: Your heaviest gear—cooking kits, hydration reservoirs, heavy electronics, or dense packing organizers.
- The Reason: You want your heaviest items centered horizontally and resting directly against your back. This keeps the load’s center of gravity close to your body’s natural pivot point, preventing the pack from swaying or dragging you backward.
Zone 3: The Outer Core (Middle & Away from Spine)
- What goes here: Lighter clothing layers, camp towels, or auxiliary gear wrappers.
- The Reason: This wraps around your heavy core, preventing dense items from shifting around while keeping the outer weight minimal.
Zone 4: The Top Cap (High & Accessible)
- What goes here: Your Wravelon Rain Cover, first-aid kits, trail snacks, and your windbreaker.
- The Reason: These are items you might need at a moment’s notice during a sudden downpour or an unexpected temperature drop.
Phase 4: Smart Settings & External Ecosystems
Modern travel requires quick transitions. If you have to unbuckle your main rucksack every time you need to pay for a taxi or show your ID, you are wasting energy.
The Two-Bag Strategy
Pair your large trek bag with a lightweight Wravelon Side Bag. While your rucksack handles the structural bulk on your back, the side bag sits comfortably across your chest. This keeps your absolute essentials safe, accessible, and completely independent of your main load.
Smart Toiletries Integration
Never pack liquid toiletries loosely. Use a dedicated Wravelon Smart Toiletries Organizer equipped with an integrated hanging hook.
- Secure it near the top of your pack or in an exterior pocket.
- When you arrive at a hostel, campsite, or airport restroom, simply unclip the organizer and hang it up. Your essentials stay perfectly vertical, sanitary, and completely isolated from your clean clothes.
Packing is not just about putting things inside a bag — it is a travel skill. A well-packed rucksack improves comfort, reduces stress, and makes your journey smoother.
Whether you are trekking in the mountains, backpacking across cities, attending community trips, or exploring spiritual destinations, your packing style directly impacts your travel experience.
At WravelOn, we aim to make every journey smarter and more comfortable with premium travel packages and high-quality travel essentials including trekking bags, side bags, organizers, rain covers, smart toiletry kits, and travel accessories.
Travel light. Pack smart. Explore more.
Because great adventures begin with a perfectly packed rucksack.
— Team WravelOn